Behind The Scenes
Illustration & Design
Follow me on the journey required to create a single piece of art. First, I imagine a character, or thing that could interact with a natural environment in a compelling way. All drawn digitally in Procreate.
I print out my new illustration on a small 4x6 inch sheet of matte photo paper. Perfect for this craft, as the flat finish lacks reflective qualities that could potentially ruin a photo in the wild. Easy to cut, yet rigid enough to stand on it’s own.
Paper Cutting
I carefully cut along the outer edge of all my outlines. Starting with the most intricate areas, as the paper’s structural integrity is at its highest in the beginning. Patience is key!
Polish
Even the most precise cuts will leave a visible edge. To make these artworks as seamless as possible, I polish the edges with a fine-tip felt marker.
Photo Preparation
Now that it’s all polished up, I need to ensure it can stand or float on its own in the real world. Using crafting wire, I snip out a little piece and attach it to the back with painter’s tape. This will act as a stake to pierce it into the ground.
Location Scouting
It’s time to go out in the real world! I take a drive to wander the local parks, forests, and city streets, I search for a tiny patch of scenery rich in detail. The weather, and time of day can heavily influence this step. Overcast days are best, as clouds are nature’s greatest light diffuser.
Setting the Scene
This will do nicely! I stake my illustration into the ground with the attached wire. Notice the variety of textures in this scene. Too much of one element can lead to a boring and flat image, so this is exactly what I have trained my eyes to look for.
Photoshoot
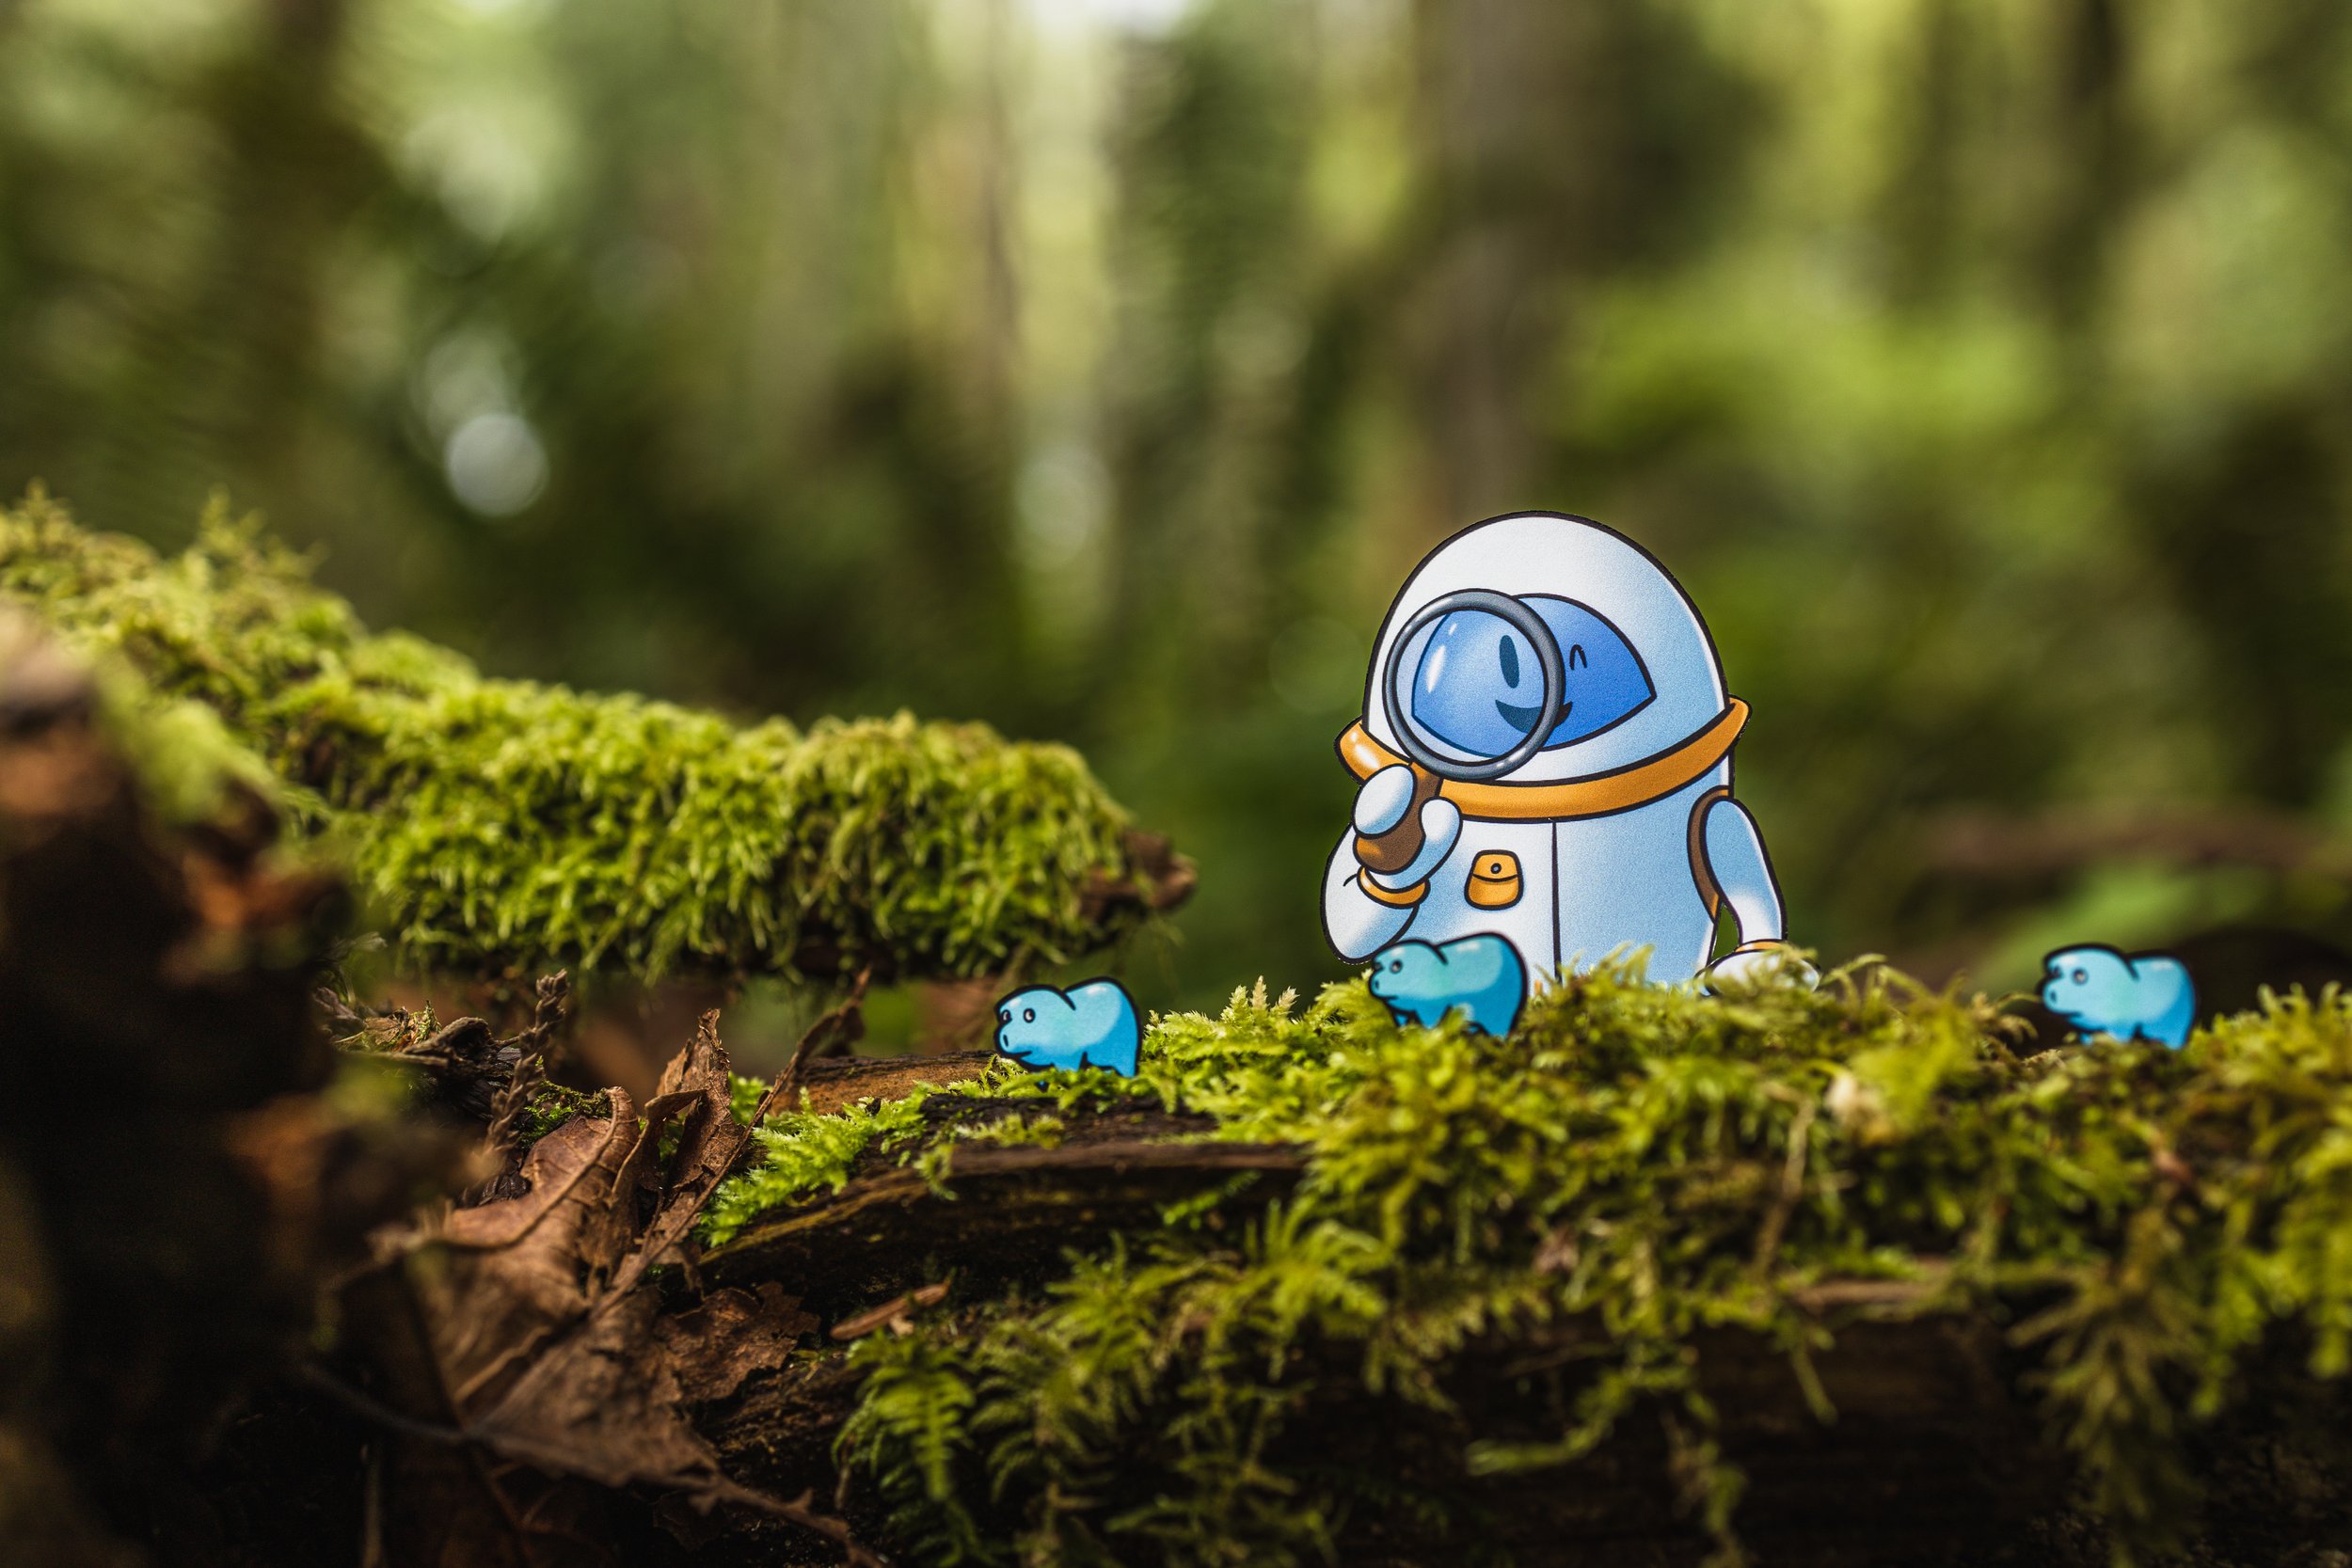
It’s show time! For the sake of continuity, I placed my drawing in a nice location where the natural light is going in the same general direction as my design. I lower my camera down to the ground, and take my shot. Perspective is key, as I illustrated it as if the viewer was at eye level. My camera needs to follow suit.
Editing
I transfer the raw image into Adobe Lightroom to bring the scene to life. Removing any wires and distracting elements. I brush in small shadows as I usually photograph them in existing shadows for more control over the light. Using selective editing, I reinforce the lighting with a linear gradient, as well as a dark gradient leading up from the bottom. This directs the viewers eye directly to my subject. Finally, I boost the colors, highlights, and textures of the focal points to further separate it from the chaotic environment.
The Final Product
At last we to get the final product. As you can see, this process takes a fair amount of planning, time, and resources to create a single image. To help make this art form more sustainable, please consider supporting my craft by checking out the custom presets I designed in the shop!
Featured Product
Featured Product
Supercharge your photography with 15 custom presets for Adobe Lightroom. Designed to be versatile no matter what you capture!


